Why Flossing Matters More Than You Think
Brushing your teeth twice a day is essential, but it only cleans about 60% of your tooth surfaces. The remaining 40% — the tight spaces between your teeth and just beneath the gumline — are virtually untouched by even the best toothbrush. That is exactly where cavities and gum disease often begin.
After more than 45 years of practicing dentistry in Huntington Beach, I can tell you with certainty that the patients who floss daily have healthier gums, fewer cavities, and keep their natural teeth longer than those who skip this step. The American Dental Association has consistently confirmed that interdental cleaning is a critical part of oral hygiene, and the evidence in my own practice backs that up every single day.
Plaque — the sticky film of bacteria that constantly forms on your teeth — thrives in the spaces between teeth. When it is not removed, it hardens into tartar within 24 to 48 hours. Tartar can only be removed by a dental professional and, left unchecked, leads to gum disease and tooth decay. Daily flossing disrupts plaque before it has the chance to harden, keeping those vulnerable areas clean and your gums healthy.
If you have ever been told you need to floss more and were not entirely sure you were doing it right, this guide is for you. I will walk you through the correct technique step by step, help you choose the right type of floss, and address the most common mistakes I see in my practice.
The Correct Flossing Technique: Step by Step
Proper technique makes the difference between flossing that actually protects your teeth and flossing that just goes through the motions. Here is the method I recommend to every patient.
Step 1: Use Enough Floss
Break off approximately 18 inches of floss. That sounds like a lot, but you need enough length to use a fresh section between each pair of teeth. Wind most of the floss around the middle finger of one hand and a small amount around the middle finger of the other hand. This leaves your index fingers and thumbs free to guide the floss.
Step 2: Hold the Floss Correctly
Pinch the floss between your thumbs and index fingers, leaving about one to two inches of floss stretched tightly between them. This short, taut section gives you the control you need to maneuver between teeth without snapping or slipping.
Step 3: Guide the Floss Gently Between Teeth
Slide the floss between your teeth using a gentle back-and-forth sawing motion. Never snap the floss straight down into your gums — that is one of the most common mistakes I see, and it causes unnecessary pain and tissue damage.
Step 4: Form the C-Shape
This is the most important part of the technique. Once the floss reaches the gumline, curve it into a C-shape against one tooth. Gently slide it into the space between the gum and the tooth until you feel mild resistance. This pocket is where bacteria accumulate, and it is exactly where you need the floss to reach.
Step 5: Slide Up and Down
With the floss wrapped in a C-shape against the tooth, move it up and down several times, hugging the side of the tooth. Use gentle pressure — you are removing plaque, not scrubbing a countertop. Then re-form the C-shape against the adjacent tooth and repeat.
Step 6: Use a Fresh Section for Each Gap
As you move from one space to the next, wind the used floss onto the receiving finger and unwind a fresh section from the other. Using the same section of floss between multiple teeth just redistributes bacteria rather than removing it.
Step 7: Do Not Forget the Back Teeth
The back surfaces of your last molars are some of the most commonly skipped areas. Curve the floss around the back of each last tooth and clean that surface just as thoroughly as you do the spaces in between.
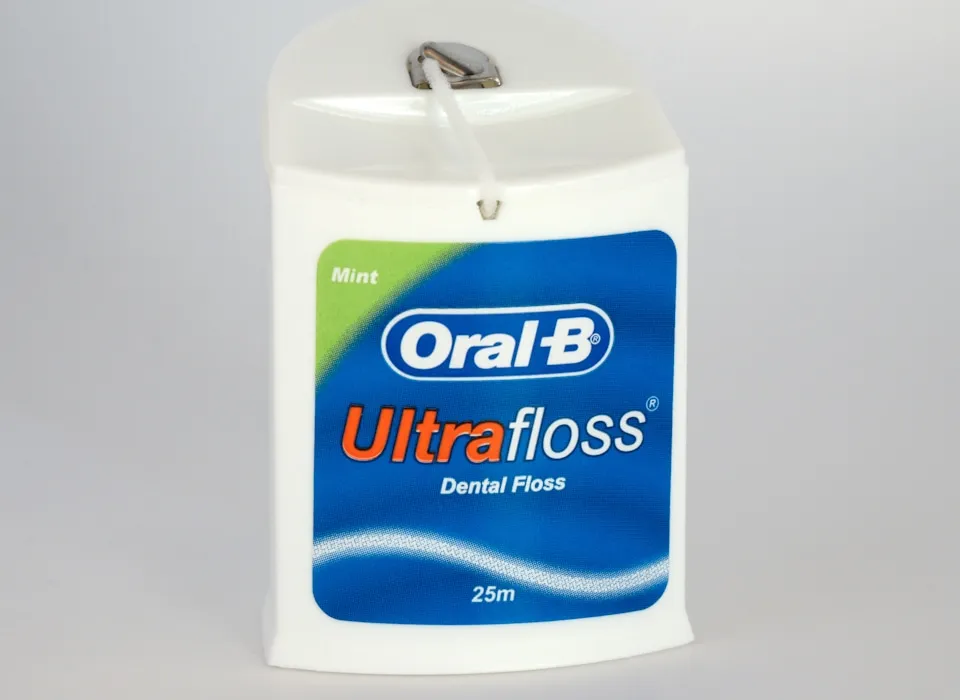
Choosing the Right Type of Floss
Not all floss is created equal, and the best type for you depends on your teeth, your dexterity, and any dental work you have in place.
Waxed Floss
Waxed nylon floss slides more easily between tight contacts. If your teeth are closely spaced or you find unwaxed floss shredding, waxed floss is usually the better choice. The thin wax coating also makes it more comfortable against the gums.
Unwaxed Floss
Unwaxed floss is thinner and can fit into very tight spaces. Some patients prefer the feel and find it grips plaque slightly better because there is no wax coating. The downside is that it tears more easily, especially around rough edges or old restorations.
Dental Tape
Dental tape is broader and flatter than standard floss. It works well for patients with wider gaps between teeth or those who find regular floss uncomfortable. If you have bridgework, dental tape can be easier to thread beneath the pontic.
Floss Picks
Pre-threaded floss picks are convenient and better than not flossing at all, but they have limitations. You cannot form the C-shape as effectively with a pick, and you are using the same short section of floss for your entire mouth. I recommend them as a backup when traditional floss is not practical — in a car, at a restaurant, or while traveling — but not as your primary daily method.
Water Flossers
Water flossers use a pressurized stream of water to flush debris and bacteria from between teeth and beneath the gumline. They are particularly effective for patients with braces, dental implants, bridges, or periodontal pockets. Research published in the Journal of Clinical Dentistry has shown that water flossers can reduce bleeding and gingivitis more effectively than string floss in some populations.
If you have dexterity challenges due to arthritis, a disability, or simply find string floss difficult to manage, a water flosser is an excellent alternative that I recommend without hesitation.
Common Flossing Mistakes to Avoid
Even patients who floss daily sometimes develop habits that reduce effectiveness or cause harm. Here are the mistakes I see most often.
Snapping the Floss Into the Gums
Forcing floss straight down between teeth can cut or bruise the gum tissue. Always use a gentle sawing motion to ease the floss through the contact point.
Flossing Too Aggressively
If you are pressing so hard that your gums bleed every time you floss, you may be applying too much pressure. Firm but gentle is the goal. Persistent bleeding despite gentle technique warrants a visit to rule out gum disease.
Skipping the C-Shape
Running floss straight up and down between teeth without curving it against the tooth surfaces misses the critical area just beneath the gumline. The C-shape is what makes flossing effective.
Only Flossing When Food Is Stuck
Flossing is not just about removing visible food particles. Its primary purpose is to disrupt the invisible bacterial plaque that causes decay and gum disease. Even if you cannot see or feel anything between your teeth, the plaque is there.
Using the Same Section of Floss Throughout
Re-using the same segment of floss moves bacteria from one space to another. Always advance to a clean section before moving to the next gap.
Flossing with Braces, Implants, and Bridges
Dental work can make flossing more challenging, but it also makes it more important. Brackets, wires, and prosthetic components create additional surfaces where plaque accumulates.
Flossing with Braces
Orthodontic patients need to thread floss beneath the archwire before cleaning between teeth. A floss threader — a small, flexible loop — makes this process manageable. Orthodontic floss threaders, super floss, and water flossers are all effective tools. I strongly recommend water flossers for braces patients because they clean around brackets and wires far more efficiently than string floss alone.
Flossing with Dental Implants
Implants require the same daily cleaning as natural teeth. Unwaxed tape or implant-specific floss is gentle on the tissue around the implant post. Water flossers set to a moderate pressure are also excellent for maintaining implant health. Neglecting flossing around implants can lead to peri-implantitis, an inflammatory condition that can cause implant failure.
Flossing with Bridges
A fixed bridge connects to adjacent teeth with a false tooth (pontic) suspended over the gum. Standard floss cannot pass through, so you need a floss threader or super floss to clean beneath the pontic. This area traps food and bacteria, and keeping it clean is essential for the longevity of the bridge and the health of the supporting teeth.
When Should Kids Start Flossing?
Children should begin flossing as soon as they have two teeth that touch — typically around age two to three. Parents should do the flossing for their children until the child has the manual dexterity to do it independently, which is usually around age eight to ten.
Make flossing a normal part of the bedtime routine. Children who grow up flossing daily are far more likely to continue the habit as adults. Floss picks designed for small hands can help younger children learn, and the novelty of a water flosser can motivate reluctant kids.
If you are looking for a complete foundation in oral hygiene for your family, pair this guide with our article on how to brush your teeth properly. Together, brushing and flossing form the two pillars of preventive dental care.
How Flossing Fits Into Your Complete Oral Hygiene Routine
For the best results, I recommend the following daily routine:
- Floss first — Flossing before brushing loosens plaque and debris so that the fluoride in your toothpaste can reach more tooth surfaces.
- Brush for two minutes using a soft-bristled brush and fluoride toothpaste, following proper brushing technique.
- Rinse with a fluoride or antimicrobial mouthwash if recommended by your dentist.
- Visit your dentist regularly — even the most diligent home care cannot replace professional cleanings. If you are unsure how often you should be coming in, our guide on how often to visit the dentist will help you decide.
The Bottom Line
Flossing is one of the simplest, most cost-effective things you can do to protect your teeth and gums. It takes about two minutes a day, costs pennies, and can save you thousands of dollars in dental treatment down the road. The technique matters — use the C-shape, be gentle, use a fresh section for each gap, and do not skip the back teeth.
If you have questions about your flossing technique, if your gums bleed despite consistent effort, or if you need help choosing the right floss for braces, implants, or any other dental work, we are here to help.
Ready to get your oral hygiene on track? Call HB Dentist today at (714) 536-2571 or book your next cleaning and checkup online. Dr. Richard Baldwin, DMD and our team have been keeping Huntington Beach smiling for over four decades, and we would love to help you too.